Today is WaveBoy firmware day! 0.71 is now out which, among other things, fixes a pretty nasty bug with the delay module. The bug relates to the buffer size not being adjustable and always defaulting to the largest size. This prevented a ton of fun lo-fi sounds and is a pretty important feature. The bug was introduced as part of the performance refactors made in 0.70. It’s been fixed and back to sounding glorious!
The delay module has also been formally renamed to Retrograde Orbit. Credit to my band-mate, John, for coming up with the awesome name since it’s both descriptive of how the delay works and is a kick-ass name!
The second major change has to do with the Sampler module. The structure of patches and metadata has been significantly revamped. This work has been coming given the JSON file conversions in other modules. Sampler now uses JSON files too. Instead of .txt files for each wave file, there is now a single patch.json file which stores the metadata for all of the waves in the patch. This now also includes the filename of the wave file being used. That means no more of those non-descriptive #.wav files but instead something like ‘snare.wav’. Wave files can also be resued between samples. That can be useful if you want to use the same source file but with vastly different settings. There is more work to do here, but this makes it much easier to build patches for the WaveBoy now.
The one downside is that the old Sampler patch structure has been thrown out. There is no conversion that happens on the WaveBoy itself to update old patches. I opted not to do this just to get 0.71 out sooner and assumed not many folks were making their own patches given how tedious it was to do so. It doesn’t take much time to convert things over, though if anyone runs into issues, do please reach out and I’ll gladly assist!
New patches are available on the latest SD card image which can also serve as examples for how to make your own patches. Just copy over the samples directory onto your own SD card and you’re ready to go! Be sure NOT to copy anything else (like tuning files) as you do not need to recalibrate or adjust tuning for this firmware upgrade. You only need to do that if you’re upgrading from a version prior to 0.70.
You can grab the latest firmware over on waveboy.bitbybitsynths.com/firmware. If you run into any trouble updating your WaveBoy, give us a shout and we’ll be happy to help!
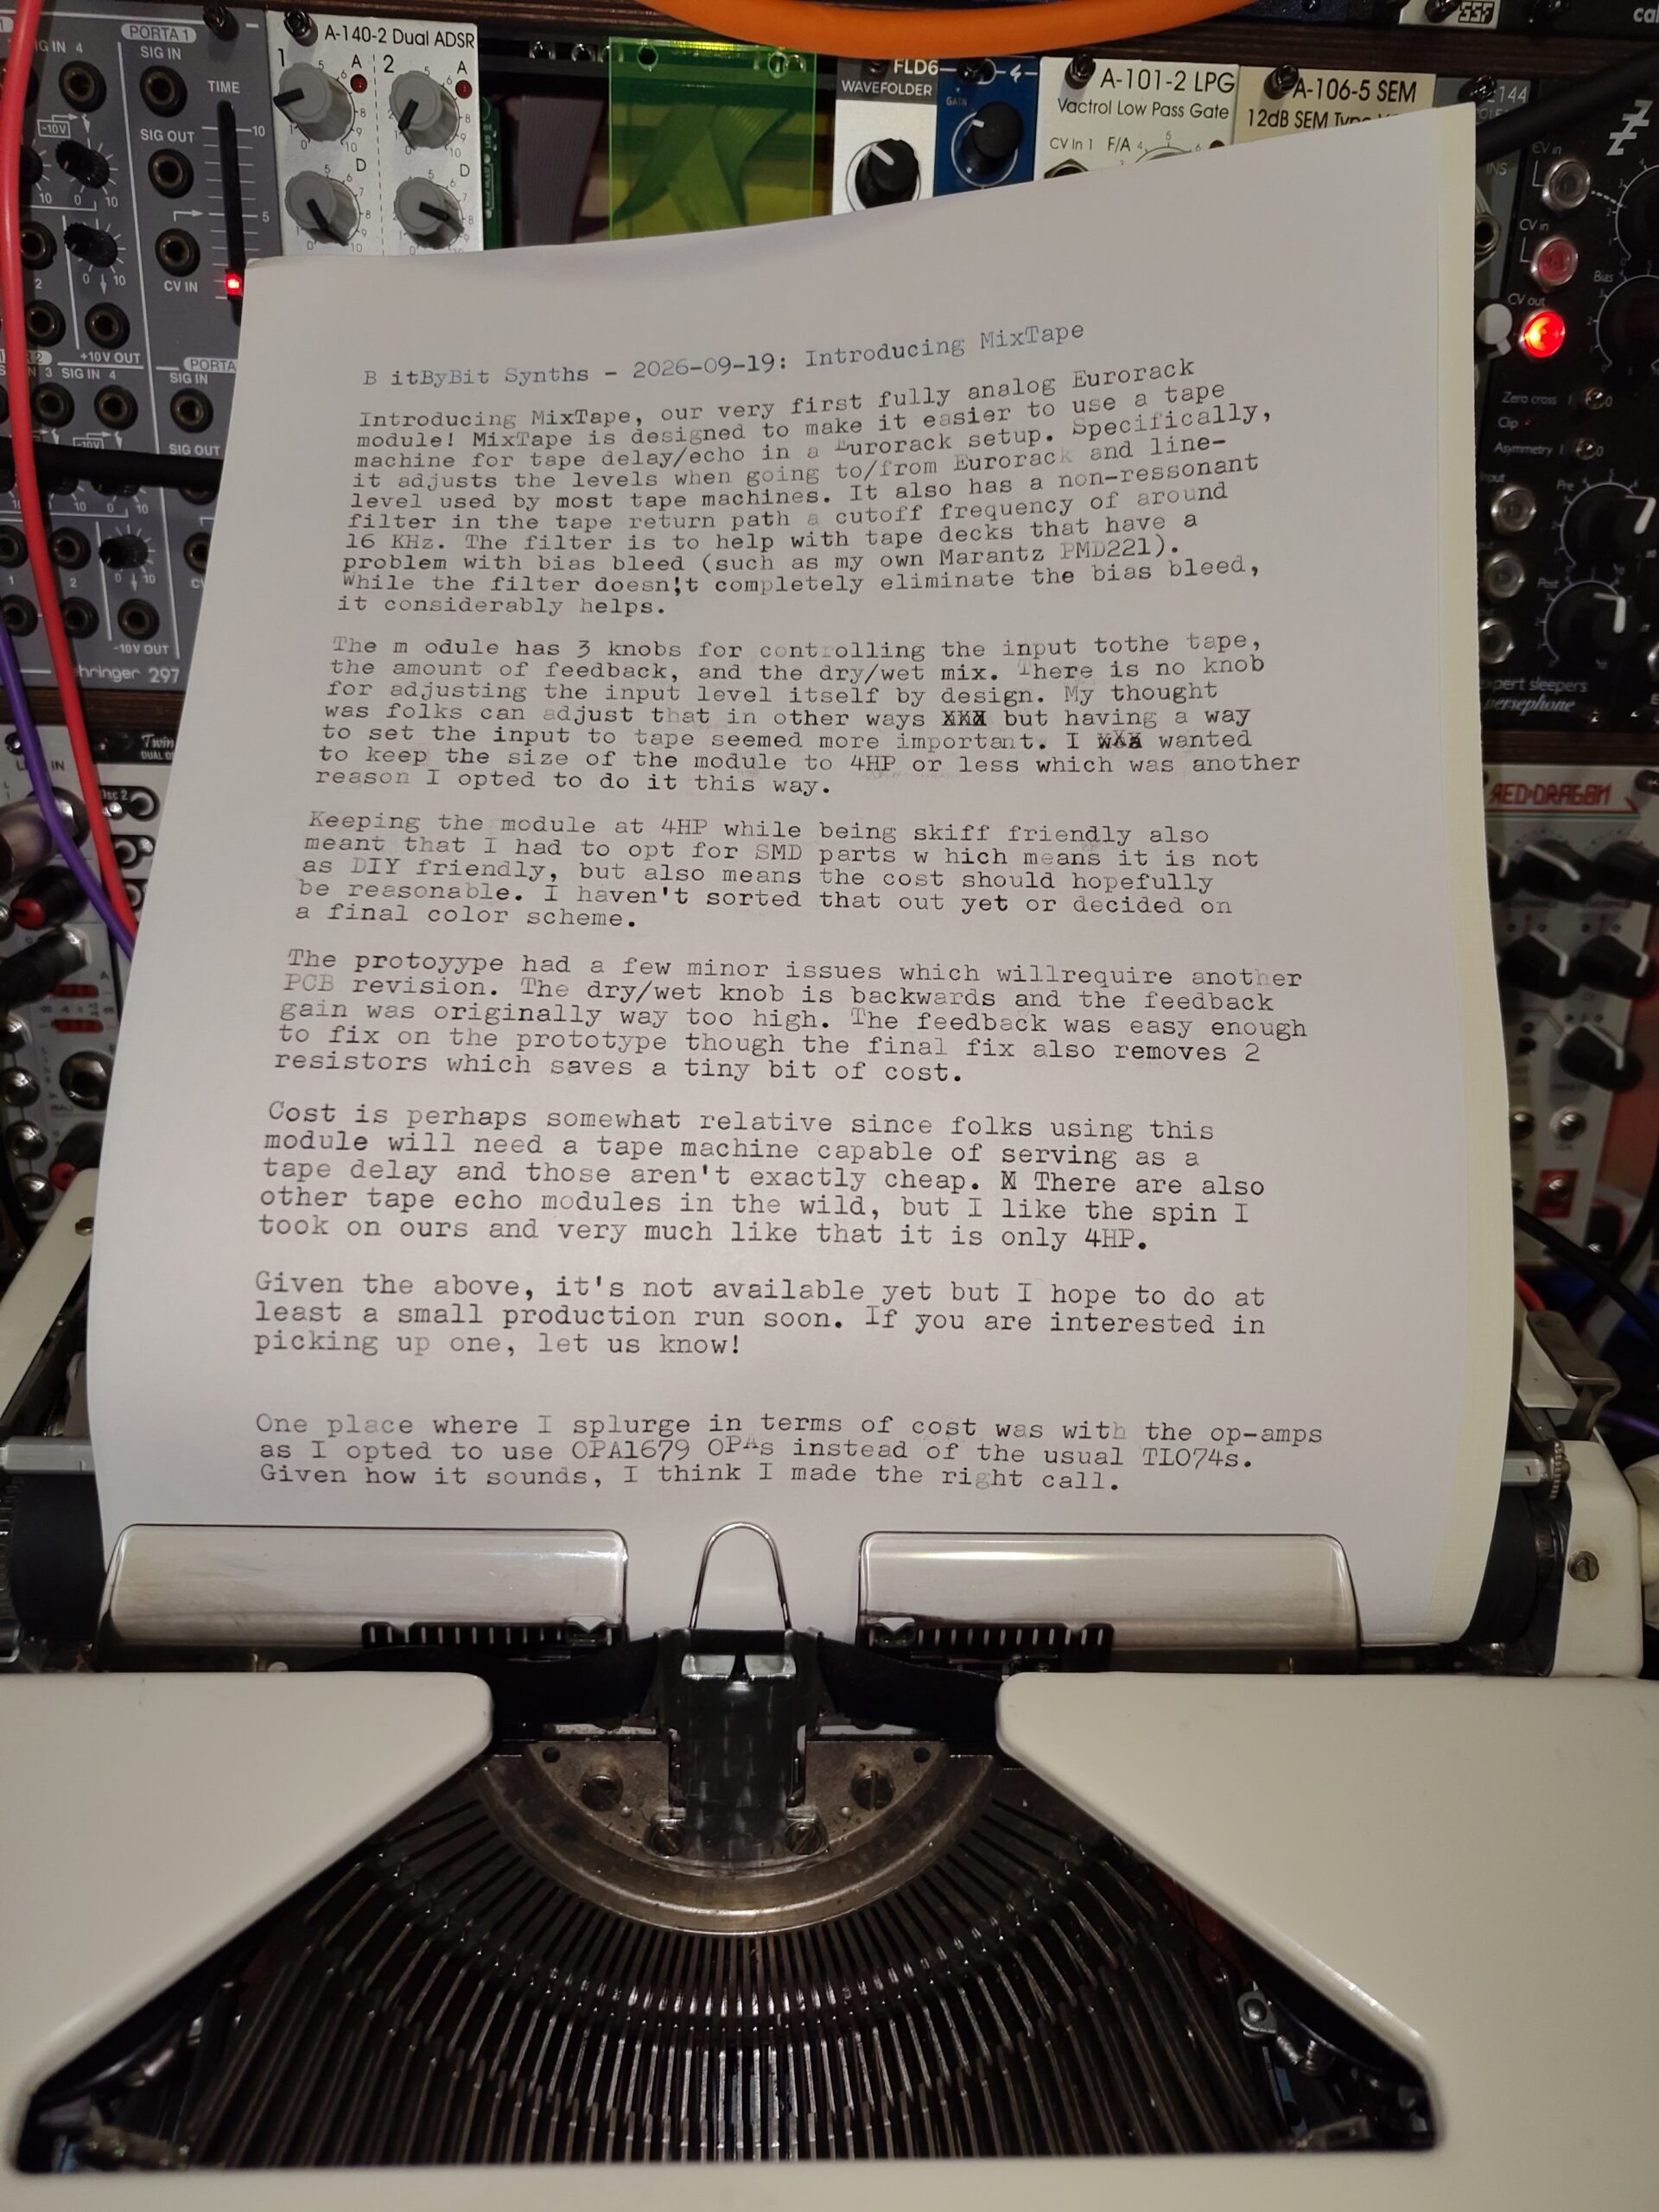
Introducing MixTape, our very first fully analog Eurorack module!
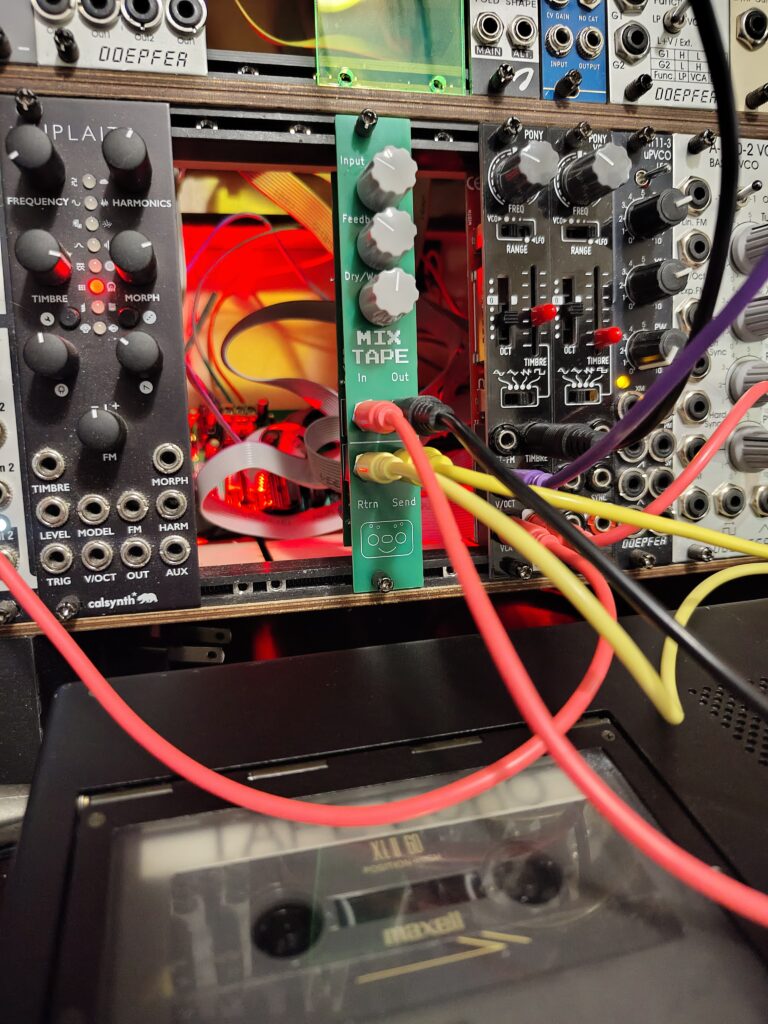
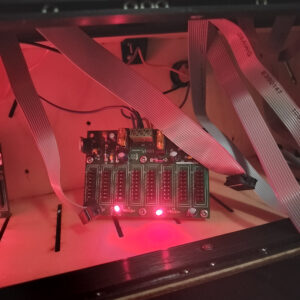
MixTape prototype mounted in my Eurorack
MixTape is designed to make it easier to use a tape machine for tape delay/echo within a Eurorack system. Specifically, it adjust for Eurorack and Line levels when going to/from Eurorack and tape. It also includes a non-resonant low-pass filter in the tape return path with a cutoff frequency of around 16 KHz. Th efilter is there to help with tape decks which have a problem with bias bleed on the outputs (such as my own Marantz PMD221). While the filter doesn’t completely eliminate the bias bleed problem, it considerably helps.
Here is a short demo of what it sounds like (poorly recorded on a phone):
This patch uses an A-110-2 VCO as the main voice with the PWM being modulated by an LFO into the A-106 filter which is also being modulated by another LFO. The WMD ADSRVCA is the combined envelope/VCA. The output of the filter then goes to the MixTape which send the audio to my Marantz PMD221 in low speed mode with the pitch knob all the way to the left (the slowest delay I’m able to get with this deck).
The module has 3 knobs for controlling the input to tape, the amount of feedback, and the dry/wet mix. There is no way to control the input level directly and this is by design. My thought was folks can adjust that in other ways within the rack and controlling the input to the tape felt more important to directly control to help with gain staging.
The other reason for not having a global input is that I wanted to keep the module small – targeting 4HP or less. Keeping the module at 4HP while being skiff friendly also meant that I had to opt for using mostly surface mount (SMD) parts. This means it is not as DIY friendly, but also means the cost should hopefully be reasonable. One place where I spluged in terms of cost was with the op-amps. I opted to use OPA1679 OPAs instead of the usual TL047s common with Eurorack gear. Given how it sounds, I think I made the right call there.
Cost is perhaps somewhat relative since folks using this will need a tape deck capable of echo. That means, at minimum, a 3-head deck but having the ability to adjust the tape speed during recording is also important. Decks which can do this aren’t exactly cheap. One route is to consider a new-old-stock UHER 4400. I bought mine from here. MixTape also isn’t wholly unique – there are other tape echo helper modules in the wild, but mine I think takes a unique spin on it with the tape input and addition of a filter. Plus I quite like that it is only 4HP.
The prototype has a few minor issues which will require another PCB revision. The dry/wet knob works backwards and the feedback gain was originally way too high. I had it set to a comical 3x whereas unity gain (1x) is plenty. Fixing the feedback on the prototype was easy enough (removing a few resistors and adding a bridge wire), though the dry/wet requires cutting traces and things (hence the need for a PCB update). There are also some minor layouts changes I would like to make as well as decide on a proper color scheme.
That means at present, MixTape isn’t available it but I do hope to at least do a small production run soon. If you are interested in picking one up, let us know!
And watch this space for some other prototypes we’re working on as well as some exciting WaveBoy updates coming soon!
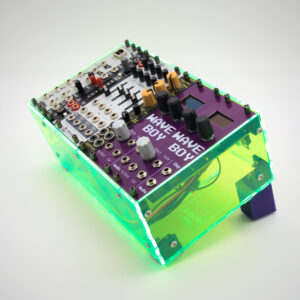
With hopefully more live shows coming up in the band, I decided it was time to build my own stage case. I had some B-stock neon green acrylic lying around from a custom project and decide to get a little creative with it. Neon green with sparkly purple printed plastics, which I am calling The Donatello.
The build itself is a Make Noise Univer Inter, a 2HP LFO, a Befaco Slew (v2), Mutable Instruments Veils (oh how we miss you Mutable!), a Doepfer mini-Wasp and, of course, 2 of our own WaveBoy‘s. The WaveBoys are the soul of the rack. In the normal live config, the first one will be handling leads and basses using Wave mode as well as a new mode that will be available in the next firmware (0.67). I’ll keep that under wraps for now. The second is functioning as a sampler. We’re using it for one sample in particular – our NES bassbomb. I can trigger this using a pedal on my stage keyboard (it is very fun, but with great power comes great responsibility).
For most of the show we’ll be using it as a chiptune sound source alongside a MidiBox SID and Analogue Pocket (running LSDJ or playing NSFs). There are a few songs where I’ll go from mild to wild with some raging LSDJ-style vowel type stuff where I may mess about with the Wasp. The Wasp, though it’s a glorious pairing for WaveBoys, is one I might replace. Not because I don’t love it (I absolutely do!) but just because it is a tad less reliable given the hex-inverter chip can give up the ghost and I can’t replace that in the middle of a show. Most of the time though the filter is just to cut the edge off the aliasing when I’m using more grittier waveforms.
The slew is for, well, slew. I will be controlling its behavior via a slider on my keyboard. Raging chiptune leads sound great with tasteful amounts. The LFO is for swinging through waves (for the vowel stuff) and for the yet-to-be-talked-about new mode I’m working on. I will control the amount and speed also via the keyboard and it will be mixed in with the modwheel.
Veils is for mixing those two sources as well as lower the hot outputs of the WaveBoy’s down to line-levels to feed into our LiveTrak L6 mixer. Finally the Univer Inter was chosen for it’s MIDI Thru capability which makes hooking up our MidiBox SID much easier. Fewer wires to mess with and no need for an external MIDI router. The whole setup is meant to be battery powered so fewer components is nice. I do with the Univer Inter has an auto-arp mode (like the Midibox SID). I wasn’t able to find any current MIDI to CV modules that have that feature. I want it so much that I have plans to make my own as a future module.
All that’s the normal mode, but I do have the option, albeit not during a show, to repatch to other things. Notably I can use the 2nd WaveBoy as a delay if I want. Or could opt for duo-phonic or 2 voice modes. Doing that means I will loose the LFO control and LFO/modwheel mix. Fortunately the WaveBoy’s have some modulation built-in which can do those (I’m also working on a slew for the next firmware release hopefully). They are just harder to control in a live show with only one CV input (meaning that, yes, both a WaveBoy Micro and WaveBoy Advance are still something I am thinking about!)
Speaking of built-in features, though. Notice there is no envelope. That is because I am using the internal envelope on the WaveBoy. It does mean I can’t easily change the parameters during a show, but I found for most songs we want to use this setup on, I can dial in an ADSR that works well enough for all of them.
I’m rather happy with the build! Less so the price tag or the stealing of parts from my main rack but I think it will be a lot of fun! The one tradeoff I made that I’m not sure about is, I do tell our customers that do live shows to consider the birch plywood cases. They are built like tanks. The acrylic looks nice but it can be fragile. It probably won’t take a fall very well. So while not the best choice for live shows, I did want to have something eye-catching. Admittedly there is a tad bit of cross promotion going on there…
Apologies for the silence on the blog! We have been busy though more lately on our photos side of the house. Breaking in now to say we now have a Discord server! Why Discord and why now? Primarily it is because of the work I have been doing behind the scenes with the Turbo V project. The Turbo V is an extension of the TurboWave sound solution I have been working on, primarily for the Commander X16. It is a design I have had in my head for a few years now.
I quite enjoy the Commander X16 and think it and 6502 is a great way to start learning assembly. But not long after it came out, I realized there exists no corollary for RISC-V. RISC-V feels like a natural next step after 6502. Being that RISC-V exists in tiny microcontrollers (MCUs) all the way up to modern computers, it has modern relevance. It is also an open ISA which is a very big deal as compared to the patent encumbered ARM ISA which has caused shenanigans in the industry as a consequence.
The Turbo V lovingly takes some concepts of the Commander X16 while making some changes and updates. Unlike the X16, the Turbo V cannot purely be built from off the shelf hardware – there is no generic RISC-V CPU that is easily usable in the same was as a 6502. There are lots of RISC-V options, but most of the ones used for retro-like designs are using MCUs which do not expose much of the system out. That is not to say they aren’t very cool! But I wanted the Turbo V to embody a more conventional computer design of having a CPU with an external bus.
The goal is still a retro-style computer that is easy to understand which can be used to write assembly programs (including games and demos of course) that is also extendable given the 8-bit bus. Since a real CPU doesn’t yet exist that fits this need, I will be using an Upduino as the “CPU”. It has just enough I/O pins to expose out an 8-bit bus and includes some SRAM which can be used for high speed low RAM and system registers. This will serve as the CPU and bus manager. The rest of the system (MCU, ROM, RAM, VERA, TurboWave, etc.) will sit on the bus and the current hardware proposal uses a backplane-like design . The physical connections, at least for a prototype, will be a 2×40 pin DIP connector using a small rigid backplane PCB. The idea is these can be stacked on top to still have a small footprint in a “Tower of Power” sort of design.
Many parts will have to be surface-mount by design, but I tried to design things in a way that allowed others to design through-hole boards where they can. The main boards will be a mix and this is partly for cost and partly for part availability.
As you can tell, the project is so big that it will both take a while to do. While I have a working emulator now, the hardware design needs to get worked on, the kernel will have to be built basically from the ground up, prototypes need to be made, etc. etc. And the computer, while it will meet my needs, won’t be super relevant without a community. Discord is the first place to see if there is interest in this crazy idea and that is what pushed me to put one together.
The Discord will be for the Turbo V but also as a means to keep in touch with us for other projects and businessy things (if folks need order help, have questions, etc.).
If you want to join, you can sign up here. You can also learn more about the Turbo V here.
This update is huge! While it does not have any front facing changes, some of the internals have been completely overhauled. Most notably, there is a completely new pitch tracking solution which is much easier to calibrate and significantly more accurate. Numerous speed and efficiency improvements have been put in place as well which have also helped the pitch accuracy, and have significantly improved the alternate audio modes.
The pitch tracking improvements have made this release, in my mind, the most significant since we launched the WaveBoy. We’ll dive into that in a bit, though there is one downside I need to tackle first. The 0.65 upgrade will require folks re-calibrate the pitch for their own WaveBoy. I was wanting to avoid this, but there was just no way I could see to convert the old calibration to the new method. The new method is completely different.
To help with this, I made a quirky video to walk folks through the process:
It should be an easy process to follow, though do follow the instructions in the WaveBoy manual carefully and be sure to backup to SD card first. The process only takes a few minutes and no longer requires a tuner. The automatic settings should be good enough for most folks, though a tuner can still be used to further dial in the tracking.
Now to elaborate on the change. We’ve been slowly working on the first multi-voice WaveBoy-adjacent sound solution for the Commander X16 called the TurboWave X1688. It takes it name from the TurboGrafx-16 which had a 6-voice / 5-bit cyclic wavetable solution. Sound familiar? Though that project is in early stages, it is the first multi-voice variant of our variable/pitch-based DAC setup. While it is for the X16 now, I hope to have a standalone MIDI synthesizer version which may or may not be in a Eurorack form-factor as well (but as MIDI). That project has already paid dividends for WaveBoy as well, as I have discovered better ways of doing things on the WaveBoy. As an aside, TurboWave will probably be what we call our sound card and MIDI devices based on our DAC approach. WaveBoy is what we will call our pure Eurorack variable DAC modules.
Anyways, one of the things I learned from working on TurboWave is how to improve the pitch tracking. The TurboWave doesn’t have to worry about analog-to-digital (ADC) conversions and can use an internal pitch table which is always consistent. I am using the RP2350 for the TurboWave in RISCV mode which does not have a floating-point unit. This got me thinking, if I wanted to make a WaveBoy variant (such as the WaveBoy Advance or Micro) and use the RP2350/RISCV, I would not be able to use fast floating point. So I needed a solution that only required integer math but also let me deal with pitch calibration (due to all ADCs needing calibration). The way WaveBoy figured out pitch from the V/Oct + Pitch knob was by using the MIDI pitch to note calculation. This is a heavyweight task, even with the MCU’s floating-point unit (partly because the pow() function cannot use single-precision floating point and the ARM chip used only supports single-precision).
Instead, I decided to lean into the pitch-table idea for WaveBoy. Instead of direct pitch, though, it’s a table of ADC values. The ADCs on the WaveBoy goes from 0-4096 values. To derive pitch, there are 2 ADCs in play (V/Oct and the pitch knob). Thus the table is larger than just the 5 octave range of the V/Oct so that the user can tune across an 8 octave range. This is much MUCH more efficient. Originally I avoided doing this because I thought such a table would eat up too much flash. Turns out it is a chunk but it’s not as bad as I expected.
But since ADCs are non-linear and require calibration (something the TurboWave doesn’t have to worry about), just having the table won’t give us perfect tracking. To fix that, I had to change to a different calibration process. The previous process revolved around those (expensive) pitch to note calculations. The new one adjusts the offset within the pitch table. So, for instance, when calibrating note C-4, the WaveBoy can compare the ideal value in the table to the seen value on V/Oct and compute a difference. The pitches in between notes use the calibration values of those notes (in a sort of closest match fashion).
But there’s even more! The original tuning solution would have probably worked were it not for a bug in the firmware I have been trying to squash since WaveBoy was first released. At higher pitches, the WaveBoy would tend to go flat. This suggested to me that the timer was drifting but I could not figure out where or why. After *cough* years I finally found it. I originally used an open source library to help me figure out how to use the timers for the SAMD51 (the MCU that powers the ItsyBitsy M4 and thus the WaveBoy). That library used the Arduino map() function to calculate counter values. This was called after the timer interrupt fired. For “slow” timers, this isn’t a problem. But the DACs on WaveBoy have to go really fast and calling the map() function that many times was causing the timer to lag which meant the resulting pitch was lower than it should have been. That library was super helpful of note and am very glad it exists! It’s just that my use case requires having to spend as minimal a time as absolutely possible in my callback. So I moved to my own libraries, streamlining them to the essentials. I just hadn’t, until now, realized how inefficient map() was.
The new timer approach now just does a simple counter reset. This coupled with using DMA for the wave and noise modes has made the DAC output process much more efficient and eliminating the pitch drift. The sample mode does not currently use DMA (due to how buffering works) though the counter improvements have helped sample-pitch tracking as well. This benefits the alt-audio modes too as they now function properly across most of the pitch range. At the extremes they tend to wig out (due to array references rolling). I left those in because that seems fun and exploitable for weird sounds.
This doesn’t even cover all the firmware changes but is, perhaps by far, the biggest feature. This was a lot of work but I’m incredibly happy with the results. It’s almost like a new module! I hope folks enjoy it!
As always, if you run into any issues, or have any thoughts or concerns, don’t hesitate to reach out to us! In the meantime, we hope everyone has a joyful rest of the holiday season!
For this version I spent a good deal of time improving the pitch tracking, particularly for the Sampler. There can still be issues when using samples with a higher sampling rate but it is still much improved. Also added is an ability to save metadata of samples as well as a new note-transpose in the sample edit menu. The transpose feature is actually part of the core WaveBoy pitch tracking such that other modules will soon have this option as well. There were some bugs squashed as well, notably when using the Delay where sometimes it wouldn’t actually delay immediately.
While trying to improve the pitch tracking, I started going down the route of looking to see if using DMA operations can offer improvements. One thing I don’t like is the detune feature in Wave mode can sometimes be inconsistent. It does seem improved, although I decided to save this for 0.64 as implementing DMA for all modes will require some refactoring and will result in a somewhat large change. It also has limits at the higher pitches and, I think, this is because detune needs to update both DAC channels in very rapid succession and I think it’s pushing the limits of the update-rate of the DAC. It’s not so much the total throughput, it’s the timing.
Fixing that will require a hardware change, which at present is not an option, though if a compatible ItsyBitsy module comes out that offers a faster DAC, we will evaluate it. Otherwise it may be a hardware change for the WaveBoy Advance we occasionally tease. That, itself, will be after another project we haven’t said too much about, the Turbowave ’88. We have been asked if there will ever be a multi-channel version of the WaveBoy, and the TW ’88 is what I came up with. We’ll have more on that at some point though we still have numerous features to get to with the current version of WaveBoy and that is still our focus! Also before we look at WaveBoy Advance, we might look at a WaveBoy Micro. The WBM will require fewer changes and is really a performance-oriented option in a smaller HP but without an OLED screen.
And while teasing things, we are still working on our internal Eurorack power solutions and our take on a balance line to/from Eurorack solution too! Lots to keep an eye out for.
But for now, enjoy the new firmware and Happy Synthing!
At long last, I finally finished the Skiffy 656 design and is now initially available!
We’re doing a phased launch so it will be available on our direct store first and will be putting on our Etsy store a bit later on. This is in part because I need to take better product photos of it but need to get out my big backdrop to do so and am waiting to do all that until I have a queue of products I need to photograph.
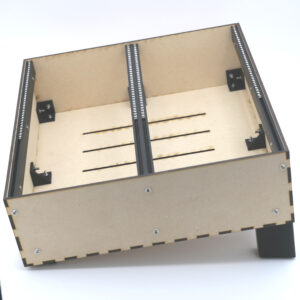
Anyways! While it is basically like a Skiffy 642, just wider, it does have a few small changes. The were additional clips to better secure the bottom. It’s also wide enough to accommodate 2 4HP cutouts along the back. Folks will be able to pick from a solid back or to have 1 or 2 4HP cutouts. Eventually we also hope to have our internal linear supply DIY kit as an option assuming it passes our testing and meets our requirements.
Note that while we currently have it available in wood, acrylic will be an option as well coming soon. Folks that are interested in an acrylic one can contact us for more information. The main reason we don’t have acrylic as a product yet is, again, the need to cut, build, and photograph one. I’ve had request for some acrylic colors as well that I’m evaluating whether to offer normally and would need to do product photography for those options as well.
Thanks for everyone that has been waiting for the Skiffy 656! I hope you like what we’ve come up with!
0.62 of the WaveBoy firmware is now available! This version primarily rolls back some of the state save changes to try and mitigate an issue where some WaveBoys were getting stuck at the splash screen which required either manipulating the state files on the SD card directly and/or reflashing the WaveBoy.
Not wanting to have just a bugfix release, I managed to add in a new wave manipulator, Wrinkle! Wrinkle is a bit like a wavefolder which uses sine or cosine along with a weight to add wrinkles to a waveform. It’s rather fun to use!
Because of the potential for stuck WaveBoys, we do recommend everyone upgrade to 0.62 at least if you are running firmware 0.57 or newer.
The latest firmware is available on the online WaveBoy manual here. Enjoy!
I get asked somewhat regularly about why we don’t offer power supplies with our cases. It’s not because we haven’t wanted to! It’s because a fully built power supply requires certifications, tests, and acceptance of risk. We find the 4HP power options to be suitable for most applications, although essentially all of these supplies are using tiny switching power modules. These are both flexible and, properly designed, easily good for audio application. But they can be a bit pricey.
Recently, I decided to look into if I could make a power supply as a kit. It would be based on a pretty standard bipolar linear supply. I’ve actually already designed an active bus board, meaning a lot of work I have already done.
The bus board expects a bipolar DC supply. In my case, this comes from an external linear unregulated supply. The unregulated supply requires AC mains voltage and isn’t suitable as a kit, though for those curious, I am happy to share the design.
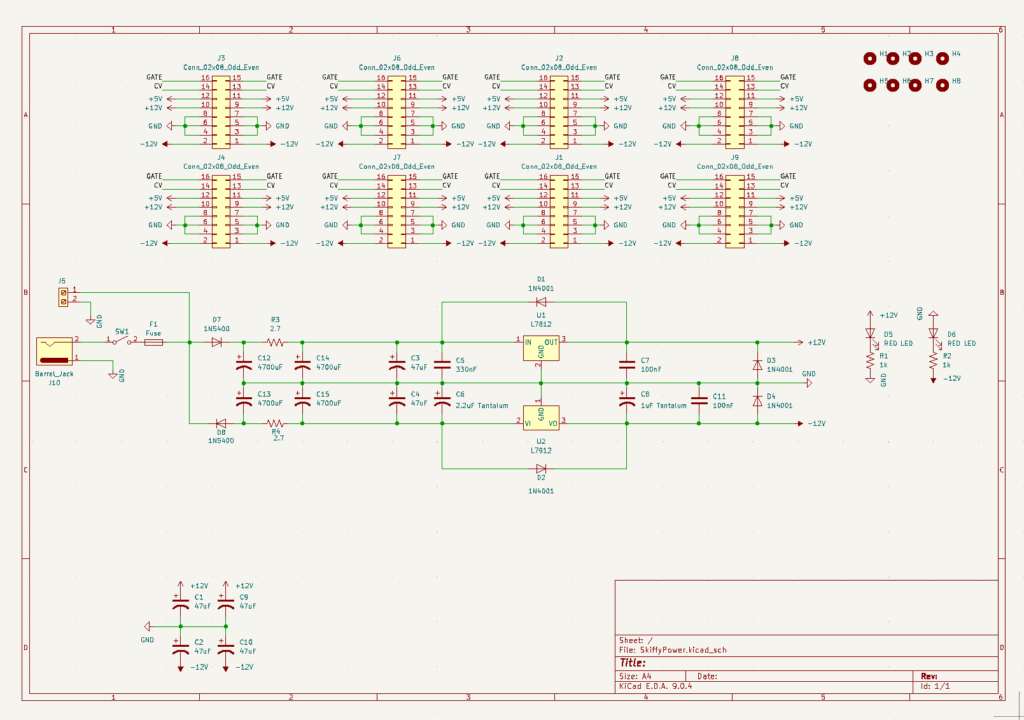
I have a design I’m pretty happy with in the bus board, so all I need to do is figure out how to come up with the -/+ 15V or so needed to feed the circuit. It took looks of circuit sims and calculators and things, but I ended up coming up with this:
It is mostly the same as my active bus board except it has a barrel jack to provide 24VAC which is then half-wave rectified and filtered to feed the linear regulators. This includes an RC filter which actually I don’t think is strictly needed, though this has the added benefit of dropping the voltage as the load goes up which has an added bonus of requiring less heat dissipation for the regulators.
I designed it to provide around 500mA or so, which is plenty for say the Skiffy 42 minus edge cases where some power hungry modules are being used. It may not be enough for the Skiffy 642. That is why I added a screw terminal though. With the power AC supply, two boards can be linked together to share the same AC input.
I still need to design the PCB, test it in the real world, among other things. But this could be a design we are able to offer as an option for some of our cases. It is not a design that can scale up to huge power hungry racks, but that wasn’t really the point of this particular design. Also of note is that it does not provide +5V by itself. I was thinking of making a smaller board that could be plugged into one of the 16-pin connectors for that. The reason being, nearly all modern modules that need +5V seem to generate it themselves. That is what we do for our first module, the WaveBoy. If it’s rarely used, it makes sense to save on the part count for the default use case.
It remains to be seen if we’ll end up doing this. If you have thoughts or opinions, do let us know! We’d love to hear from you!
I forgot to make a blog post about 0.60 (sorry!). That version was mostly bug-fixes. This version adds in a realtime delay module which I’m very excited about! It’s not just your typical delay but leans into the whole variable clocked DAC thing that defines WaveBoy. It also has some minor bugfixes and now allows for disabling the screensaver (though we highly recommend leaving it enabled to prolong the life of the OLED display).
I’m incredibly excited about the delay! My band-mate has been having an absolute blast with it!